
Kaa
Kaa
Kaa features snakeskin frenchies in a brown gradient.
*PLEASE SEE OUR “HOW TO SIZE YOUR NAILS” SECTION BELOW. YOUR ORDER WILL NOT BE PROCESSED WITHOUT SIZING INFORMATION*
Couldn't load pickup availability
Low stock: 5 left
View full details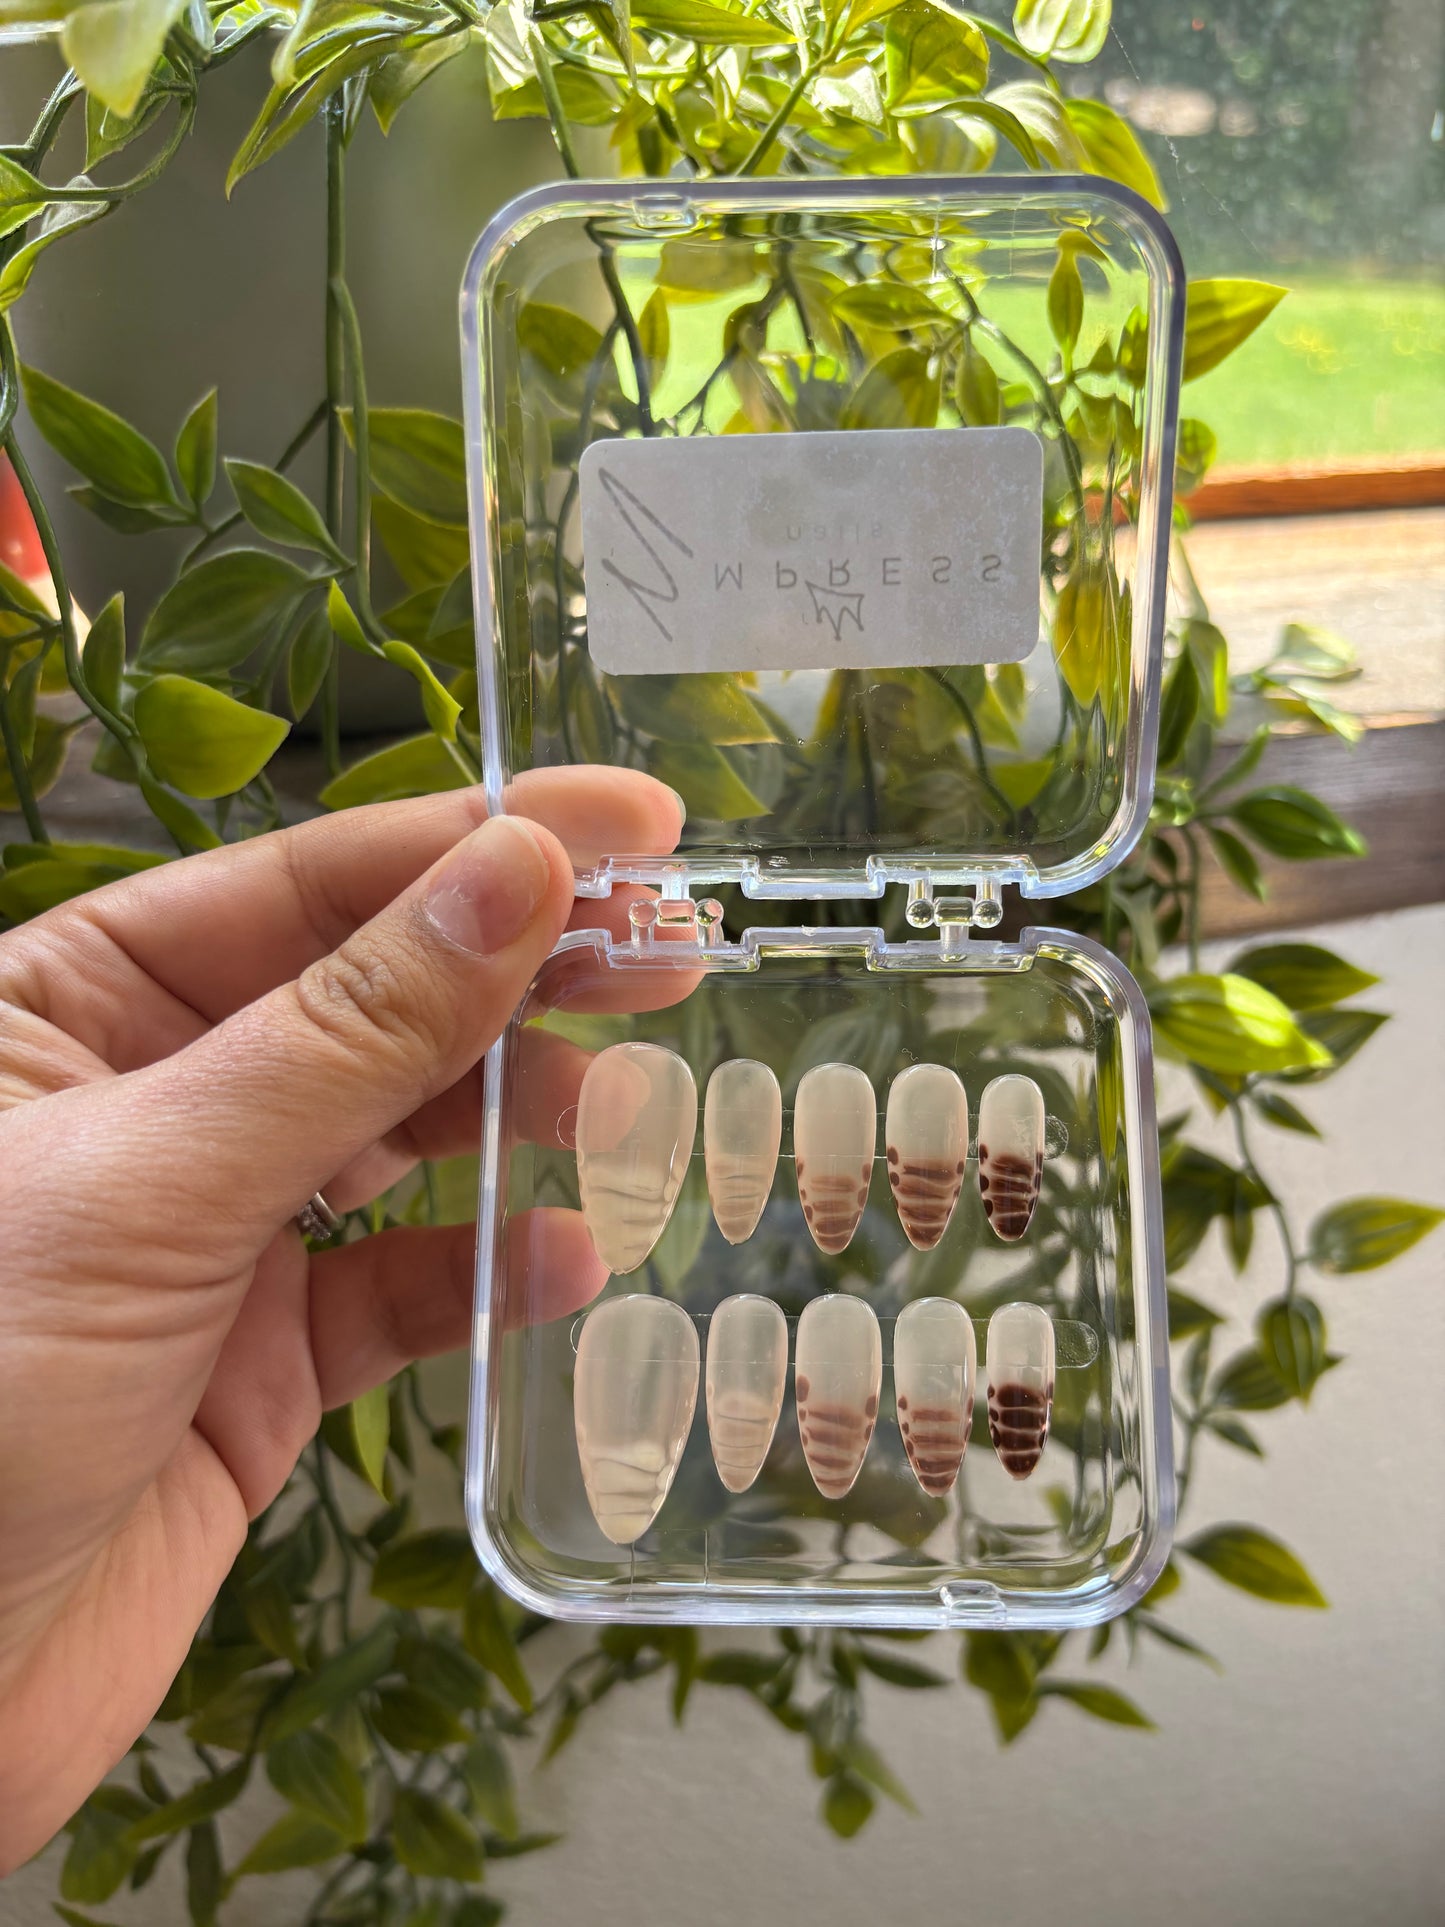
About our press-ons
Custom Fit - How to size your nails
Each set of press-ons are made especially for you! This means I can make you a set that fits your nails to the best of my ability. Although I can’t guarantee a perfect fit, I think I can come close!
Please follow the link below that will show you how to take pictures in order to size your nails. Email these pictures to ems.press.nails@gmail.com or message them to me over Instagram @empressnails888
How to size your press-on nails
Return Policy
As this is a made to order product, I am unable to offer returns at this time. If you are unhappy with your set please use the contact page or message @empressnails888 on Instagram to let me know what’s going on and I will see what I can do!
Thank you as always for your understanding<3
Tips & Tricks
Here are a few tips and tricks when it comes to your press-on nails:
- They may take awhile to get used to. If you don’t normally wear nails/nail extensions, press-ons may feel unnatural to you at first. Take your time with your usual tasks, wear with patience and they’ll grow on you!
- Keep your packaging. As long as you don’t lose any of the nails, the set can be reworn again and again! If there is glue residue on the inside of the nails, this can be filed off if necessary.
- Soak in warm soapy water or apply any oil (olive/canola, etc.) to remove. If you don’t have a nail glue remover readily available to you, soaking in warm soapy water or applying oil for a couple of minutes may soften up the glue enough for you to remove your nails. If possible, lift a corner of your press-on with a file or cuticle pusher to allow water/oil to better soak under nail.
- Avoid contact with harsh chemicals and excessive submersion in water for longer wear. This should not hurt or damage the nails themselves (depending on the chemical), but exposure to these things will eat away at your nail glue over time. Nails can always be re-glued if necessary!
How to apply your press-ons
Here are the steps to ensure smooth application of your newest press-on set!:
- Push back cuticles.
- Buff nails with provided buffing square. This “roughs up” the surface of your nail a bit to help the glue attach to your nails surface better.
- Wipe nails with provided alcohol pad and let dry.
- Cut the tip off of provided nail glue. Apply a small amount of glue to the base of the nail (the part that will lie nearest your cuticle and will have a rougher texture) and slowly press the nail onto your natural nail at a 45 degree angle, pressing down from base of the nail to tip.
- Keep consistent pressure on the nail for about 20 seconds to allow nail glue to adhere to natural nail.
- All done!
A few notes:
- The nails can be stiff after having been painted. This can cause your nails to seem too small. If this is the case, you may need to press down a little harder in order for them to flatten around your nails enough to stick.
- nails should feel snug while glue is drying. The sensation should fade after a few seconds.
- Try to avoid getting glue on your skin. You shouldn’t need too much for them to stick. It may take a bit of trial and error!